Table of Contents
Successful asphalt installation is the culmination of proper grading, drainage, soil preparation, base construction, and compaction. Especially in the Indianapolis area, with its freeze-thaw cycles and heavy traffic demands, no detail can be overlooked.
At Sipes Asphalt & Concrete, we help commercial property owners throughout Central Indiana complete paving projects built for long-term performance. In this guide, we walk through the asphalt installation process to equip you with the information you need to make smart pavement decisions, set realistic expectations, and better protect your investment.
What Is Professional Asphalt Installation
Professional asphalt installation is the process of designing and building a pavement system to support traffic, manage water runoff, and withstand years of use. Long-term performance depends on proper site preparation, grading, base construction, paving, and compaction.
Unlike temporary repairs that address surface-level issues, asphalt construction focuses on creating a strong foundation that meets the property’s daily demands. Properly installed and maintained commercial asphalt pavement provides 15 to 25 years of service.
Types of Asphalt Installation Projects
Commercial asphalt installation projects vary significantly depending on the property and its intended use.
Common applications include:
Retail and shopping center developments
Office complexes
Industrial facilities
Distribution centers
Private roads
Municipal and institutional properties
Indianapolis Climate Considerations
Proper drainage and a stable foundation are critical for pavement projects throughout the Indianapolis region.
When winter arrives, freeze-thaw cycles create constant movement within pavement structures. Water that enters small cracks can freeze, expand, and place additional stress on the pavement. Over time, this back-and-forth leads to cracking and surface deterioration.
Central Indiana’s clay-heavy soils also present unique challenges. Some soils expand when moisture levels increase and contract during dry periods. This movement negatively affects pavement stability if the subgrade isn’t properly prepared.
Why Professional Installation Matters
Professional asphalt installation creates the foundation for long-term pavement performance.
Well-built pavement is better equipped to handle daily traffic and seasonal weather changes.
Proper drainage helps prevent damage caused by standing water.
A stable foundation helps distribute vehicle loads across the pavement structure.
Quality installation minimizes costly repairs later in the pavement’s lifecycle.
Common Problems from Poor Installation
Proper site preparation remains one of the most important stages of any paving project. Even high-quality asphalt materials can struggle when installation shortcuts are taken.
Common issues include:
Premature cracking
Standing water and drainage problems
Surface depressions
Edge deterioration
Settlement and uneven pavement
Accelerated pothole formation
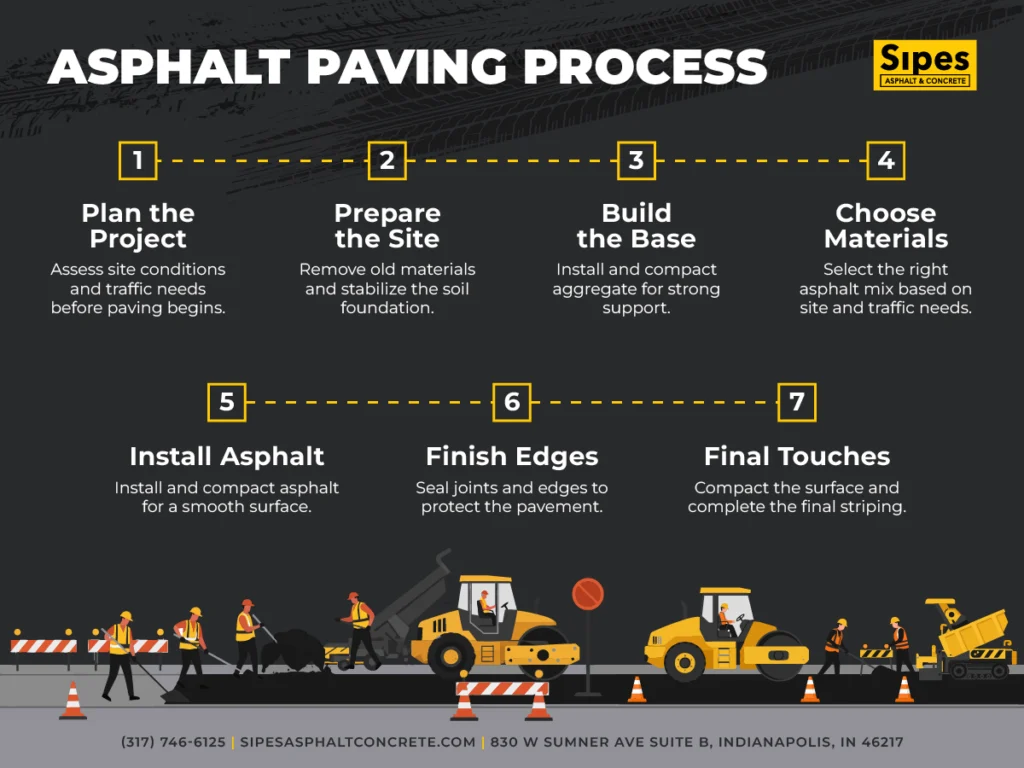
Complete Asphalt Installation Process
Every asphalt paving project has unique requirements, but most commercial installations follow a similar sequence. Each phase builds upon the previous one to create a pavement structure capable of supporting traffic and withstanding weather-related deterioration.
Step 1: Site Preparation and Excavation
Before any asphalt is installed, the site is evaluated, grades are established, and drainage concerns are addressed. Existing pavement may be removed if replacement is required, while sites with unstable soils may need additional preparation before paving begins. In some cases, soil stabilization services can improve subgrade conditions before paving moves forward.
Proper grading helps water flow toward catch basins and drainage systems rather than collect on the pavement surface.
Step 2: Base Layer Installation
Once the site is ready, crews install and compact an aggregate base. Much of a pavement’s long-term performance depends on the strength of the base beneath it.
The depth of the base depends on the project and the amount of traffic the pavement is expected to handle. Careful compaction is important at this stage because weak spots beneath the asphalt can eventually lead to settlement, cracking, and other surface problems.
Step 3: Asphalt Installation Process
With the base in place, crews begin laying asphalt using specialized paving equipment. Asphalt is installed at carefully controlled temperatures, typically between 280°F and 320°F, to ensure proper placement and compaction.
Pavement thickness is determined by how the property is used. Weather conditions are also monitored closely, as rain, excess moisture, and cooler temperatures can affect paving operations.
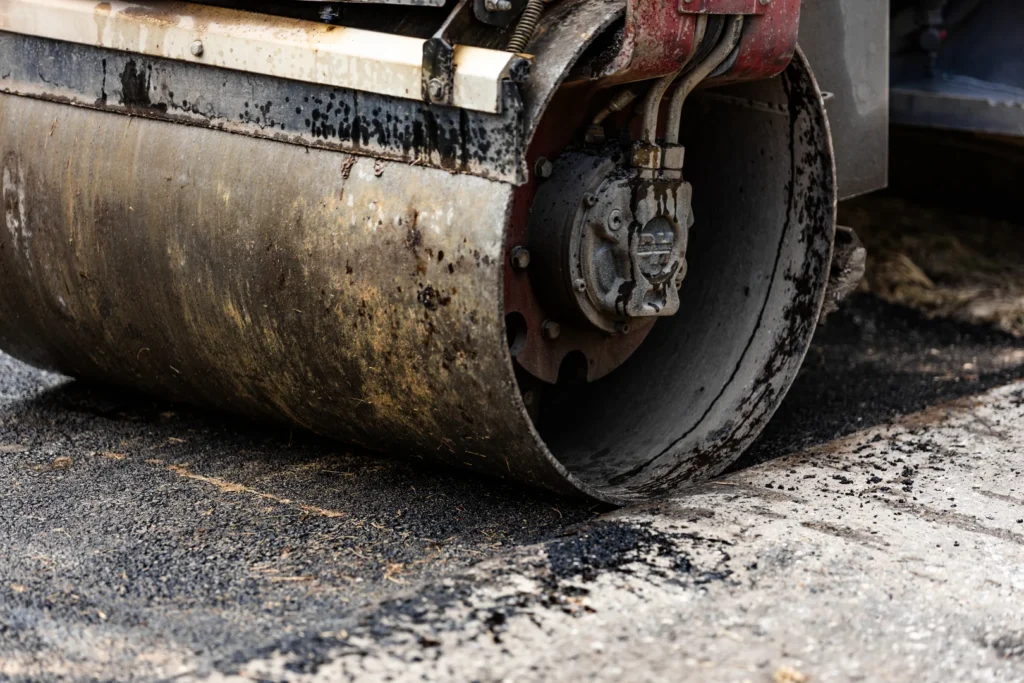
Step 4: Compaction and Finishing
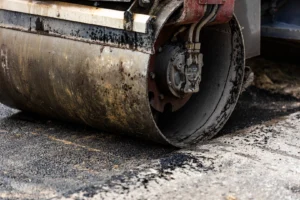
Compaction begins immediately after the asphalt is installed. Rollers make multiple passes across the surface to remove air pockets and create a smooth, consistent finish.
This step plays a major role in how well the pavement holds up over time. Once compaction is complete, the crew performs final cleanup and prepares the site for curing.
Step 5: Curing and Initial Use Guidelines
Newly installed asphalt needs time to cool and harden. Many commercial surfaces can open to traffic within 24 to 48 hours, though timelines may vary depending on weather conditions and project requirements.
Regular inspections, crack filling, and sealcoating prevent minor wear-related issues from becoming large-scale repair projects.
Get Expert Asphalt Paving Help Today
Cost Factors and Planning Considerations
Pavement size, drainage requirements, and existing pavement conditions influence the scope of work and asphalt installation costs.
Common cost factors include:
Limited site access may require additional planning, labor, or equipment.
Deteriorated pavement, failed base areas, and drainage issues often need to be addressed before new asphalt can be installed.
Unstable soils may require additional excavation, aggregate, or stabilization work.
Larger projects benefit from economies of scale, while smaller projects often have higher costs per square foot.
Seasonal demand can affect project scheduling and construction timelines.
Schedule a professional site evaluation to understand your project costs, as existing conditions can reveal challenges that aren’t visible on the surface.
Indianapolis Permit Requirements
Permit requirements vary depending on the municipality, project scope, and whether the work affects drainage systems, curbs, sidewalks, or public right-of-way access. Avoid construction delays by accounting for local development requirements, accessibility standards, and other site-specific regulations early in the planning process.
Choosing the Right Asphalt Contractor in Indianapolis, IN
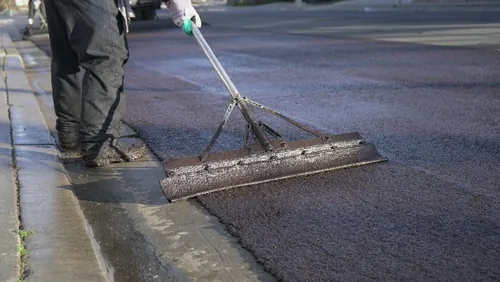
Selecting the right asphalt contractor is crucial for ensuring a long-lasting, high-quality pavement. Professional installation not only creates a smooth and durable surface but also helps reduce long-term repair costs by preventing common issues like cracking, potholes, and uneven settling.
When choosing a paving contractor, look for the following:
- Proven experience with asphalt paving projects
- Modern paving equipment and trained crews
- Positive customer reviews and references
- Clear project timelines and warranties
At Sipes Asphalt and Concrete, our team combines years of experience with state-of-the-art equipment to deliver a top-notch asphalt paving process in Indianapolis. From commercial lots to municipal projects, we prioritize quality, reliability, and results that last.
Planning an Asphalt Installation Project?
A successful asphalt installation starts with understanding the conditions beneath the surface. Site preparation, drainage, base construction, paving, and compaction all play a role in how well a pavement performs over the years ahead.
At Sipes Asphalt & Concrete, we help commercial property owners throughout Indianapolis and Central Indiana see the full picture of their pavement. If you’re planning a new paving project or replacing an aging pavement surface, get started by contacting our team to schedule a site evaluation.
FAQ Section
How long does asphalt installation take?
Many commercial paving projects can be completed within a few days once work begins. Larger sites, weather delays, and unexpected site conditions can extend the timeline, which is why every project is evaluated individually.
What time of year is best for asphalt installation in Indianapolis?
Late spring through early fall is typically the best window for paving. Warmer temperatures help crews properly install and compact asphalt, while colder weather presents unfavorable paving conditions.
How thick should commercial asphalt pavement be?
There isn’t a one-size-fits-all answer. The right asphalt thickness depends on how your pavement is used and daily traffic.
Can new asphalt be installed over existing pavement?
Sometimes. If the existing pavement is still structurally sound, an overlay may be a viable option. If there are significant drainage issues, base failures, or widespread deterioration, additional repairs or reconstruction may be needed first.
What maintenance is recommended after installation?
Like any investment, pavement performs best when it’s properly maintained. Regular inspections, crack filling, sealcoating, and drainage maintenance can help address small issues before they worsen.
How soon can newly installed asphalt be sealcoated?
Most new asphalt should cure for about 12 to 18 months before sealcoating. Giving the pavement time to fully cure helps ensure the sealcoat performs as intended.